The Texting Menu is reached via the Other Front Desk Tasks Menu:
Depending on your Skyware Systems set-up, you may or may not have a quick menu option for the Other Front Desk Tasks Menu area. If you can, select Other => from the Quick Menu on the left side of the screen.
 OR
OR 
OR
Select Other => from the Other section (bottom right) of the Full Menu.
Click the icon on the left for the Full menu.
 OR
OR 
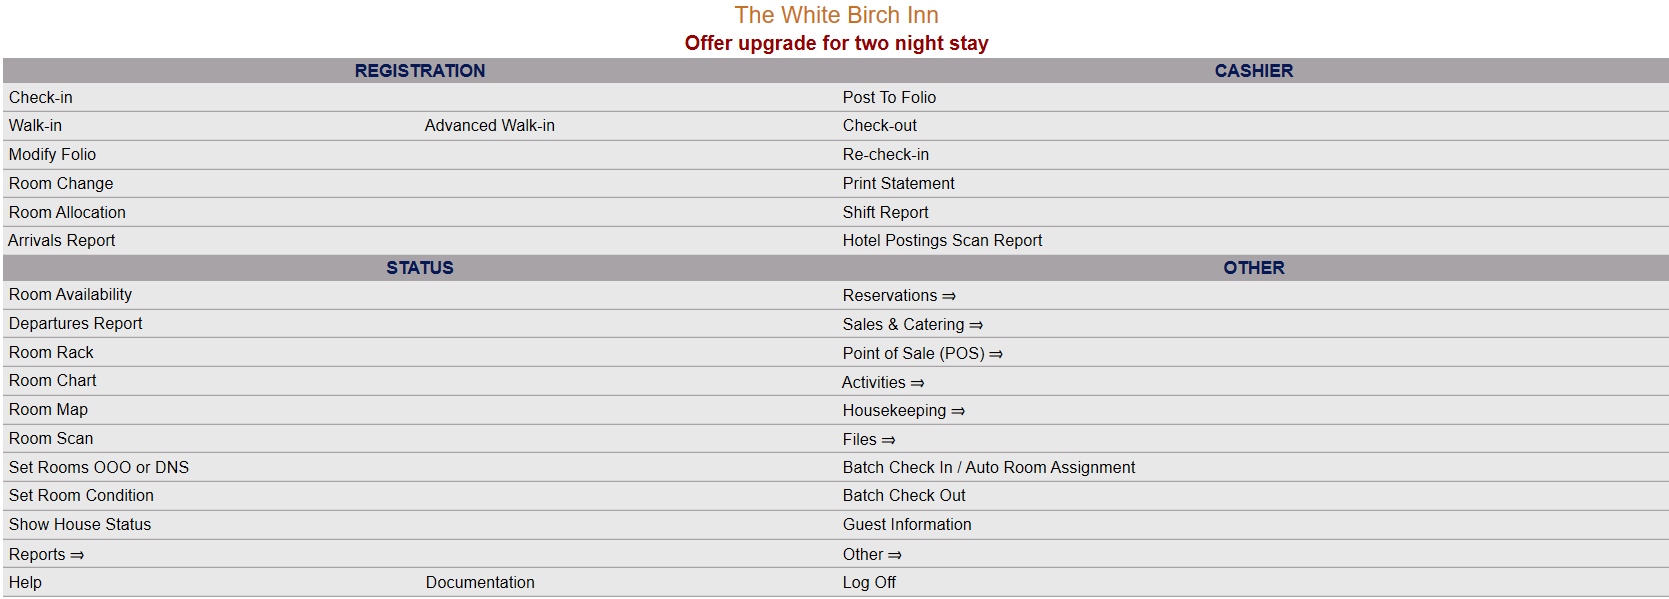
This will display the Full menu in a tabular form, with four sections, Registration, Status, Cashier and Other.
 OR
OR 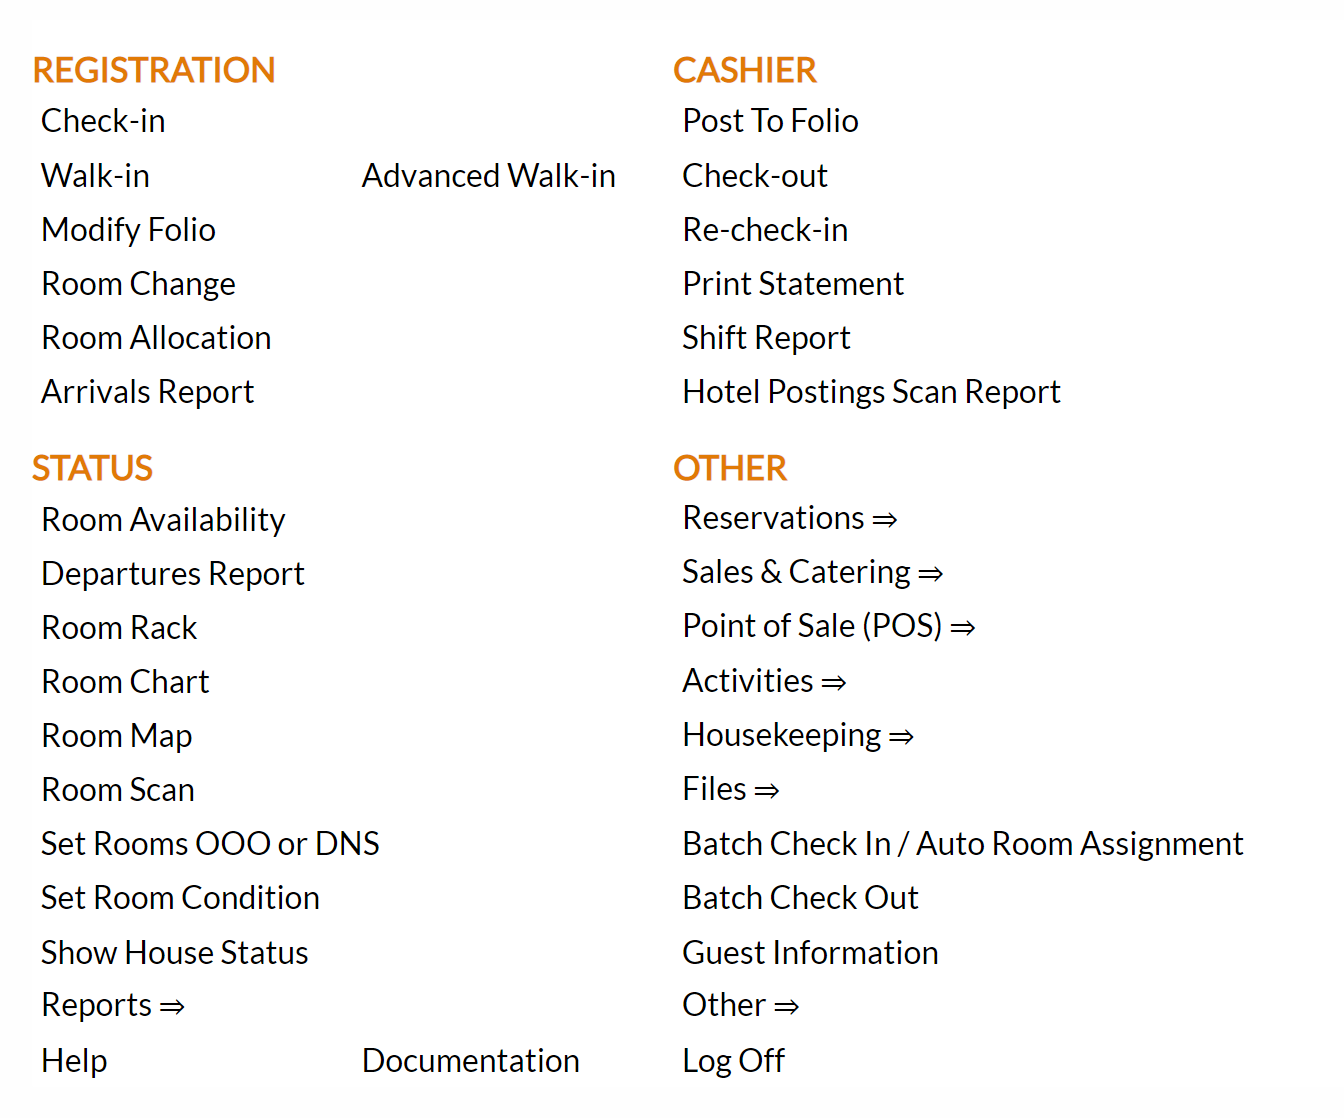
From the Other Section, select Other =>.
 OR
OR 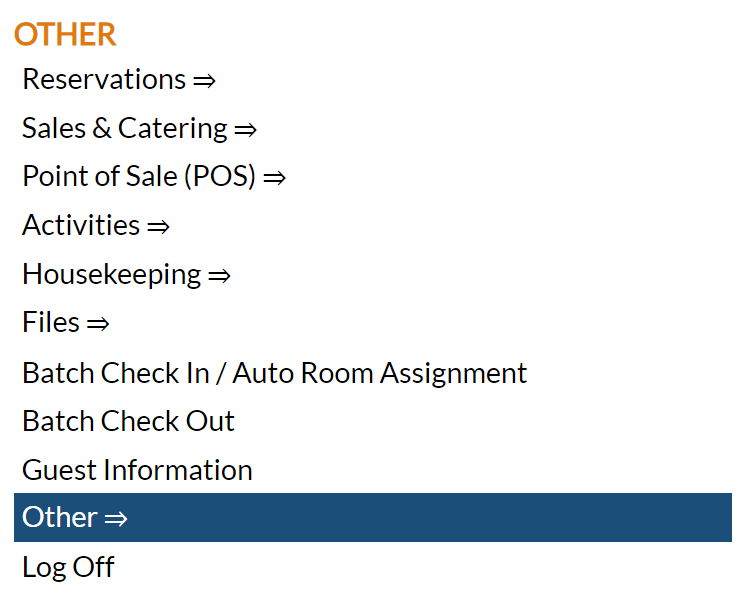
This will display the Other Front Desk Tasks Menu.
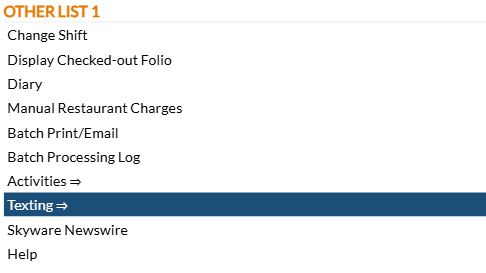
The Other Front Desk Tasks Menu area is divided into four sections: Other List 1, Other List 2, Documents and Web.
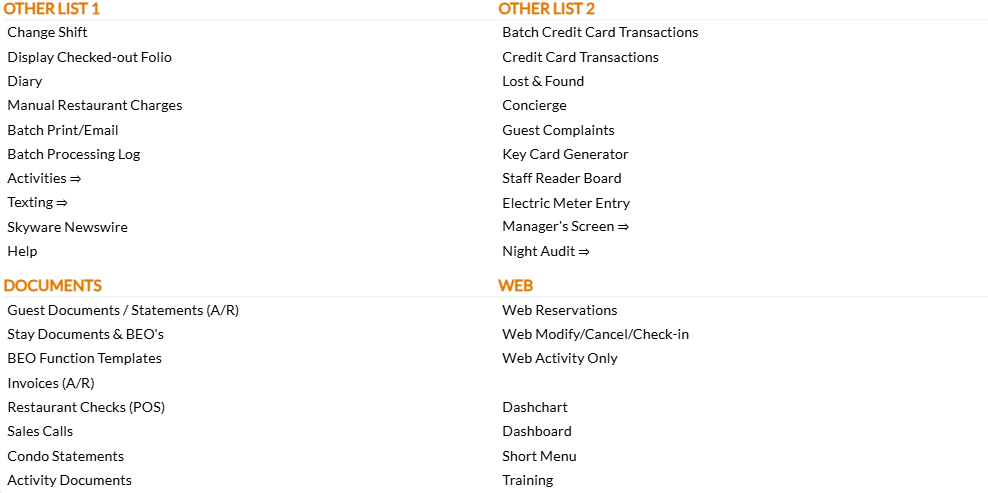
Select the Texting => command from the Other List 1 section.
This will display the Texting Menu.
The Texting Menu is divided into 4 sections: Items, Reports, Custom Messages and Other.

Select the Texting Report command from the Reports section.

This will open the Texting Report screen.
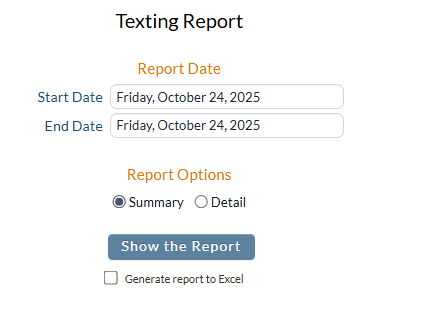
Report Date: Select the date range you wish to be reported on. By default, reporting will be for one day, today's (system) date.
Start Date: Change the selected date by clicking within the date field to open the calendar icon and select the date you wish to have the reporting displayed on the report begin. When the day has been selected the calendar will close and the date field will be automatically updated with your selection. By default the date selected is today's date.
End Date: Change the selected date by clicking within the date field to open the calendar icon and select the date you wish to have the reporting displayed on the report end. When the day has been selected the calendar will close and the date field will be automatically updated with your selection. By default the date selected is today's date.
Note: Adjusting the Start Date field will automatically update the End Date field to maintain the specified amount of time between the two dates selected.(For example, if you changed the End Date field to give a week of reporting time, subsequently changing the Start Date will ALSO alter the End Date field to maintain that week of reporting time between the two dates).
Report Options: Select from the available Report Options for the report. Using the radial buttons, select EITHER Detail or Summary. By default, the Summary option is selected.
Summary: Includes only the month, year, and number of the texts sent for the specified Date range.
Detail: Includes the specific Date the text was sent, the number the text was sent from, the body of the text, the direction of the text and its status, for the specified Date range.
When finished, click the button Show the Report to generate the report.
Summary Report example:
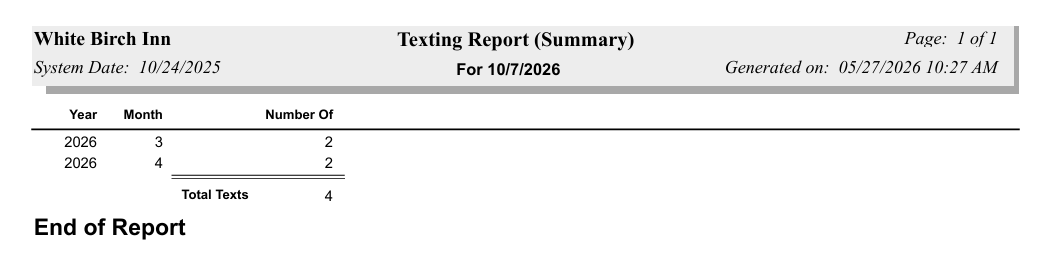
The Summary report shows the year, the month, and number of the texts sent, with a total number for all texts sent during the specified time period shown at the bottom of the report
Detailed Report example:
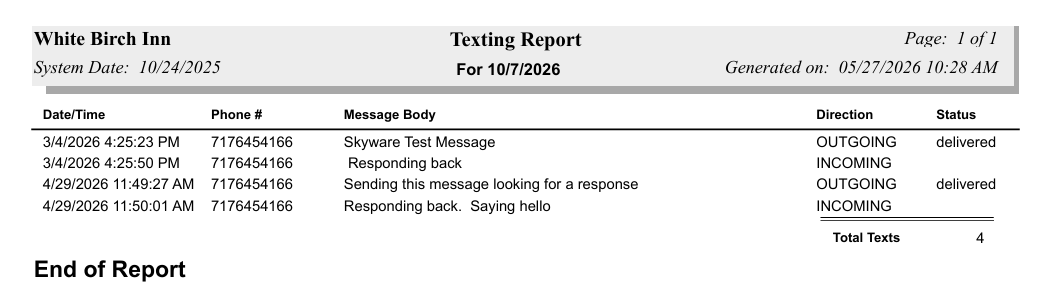
The Detailed Report shows the specific Date and Time for the text, the phone number used, the message body of the text, the direction of the text and for the outgoing texts the status of the text message. It also has a total number for all texts sent during the specified time period shown at the bottom of the report.
By default, the report is generated in PDF form and opens in a separate browser window. From there you can select to save or print the report, among other options. You can, instead, check the Generate report to excel checkbox to generate the report in HTML for downloading to Excel instead of PDF. The information in this case will then be correct for importing into another document rather than immediate viewing.